Lets start with setting the scene: 1. I have never used a standalone microprocessor for anything befre 2. I have not soldered since GCSE electronics (20+ years) 3. I'm not entirely sure what I'm doing
So I bought a couple of Raspberry Pi Picos because they are new and why not. I don't really have a plan of what to do with them, but they looked like fun so I went for it. I also bought some accessories, the Pico Scroll and the RGB Keypad. Because these are new and are not yet available with pre-soldered headers, I also had to buy a soldering iron, so this "cheap" little project has ended up costing £3.50 for the pico, ~£60 for the extras.
This morning I put the first one together.
Prep:
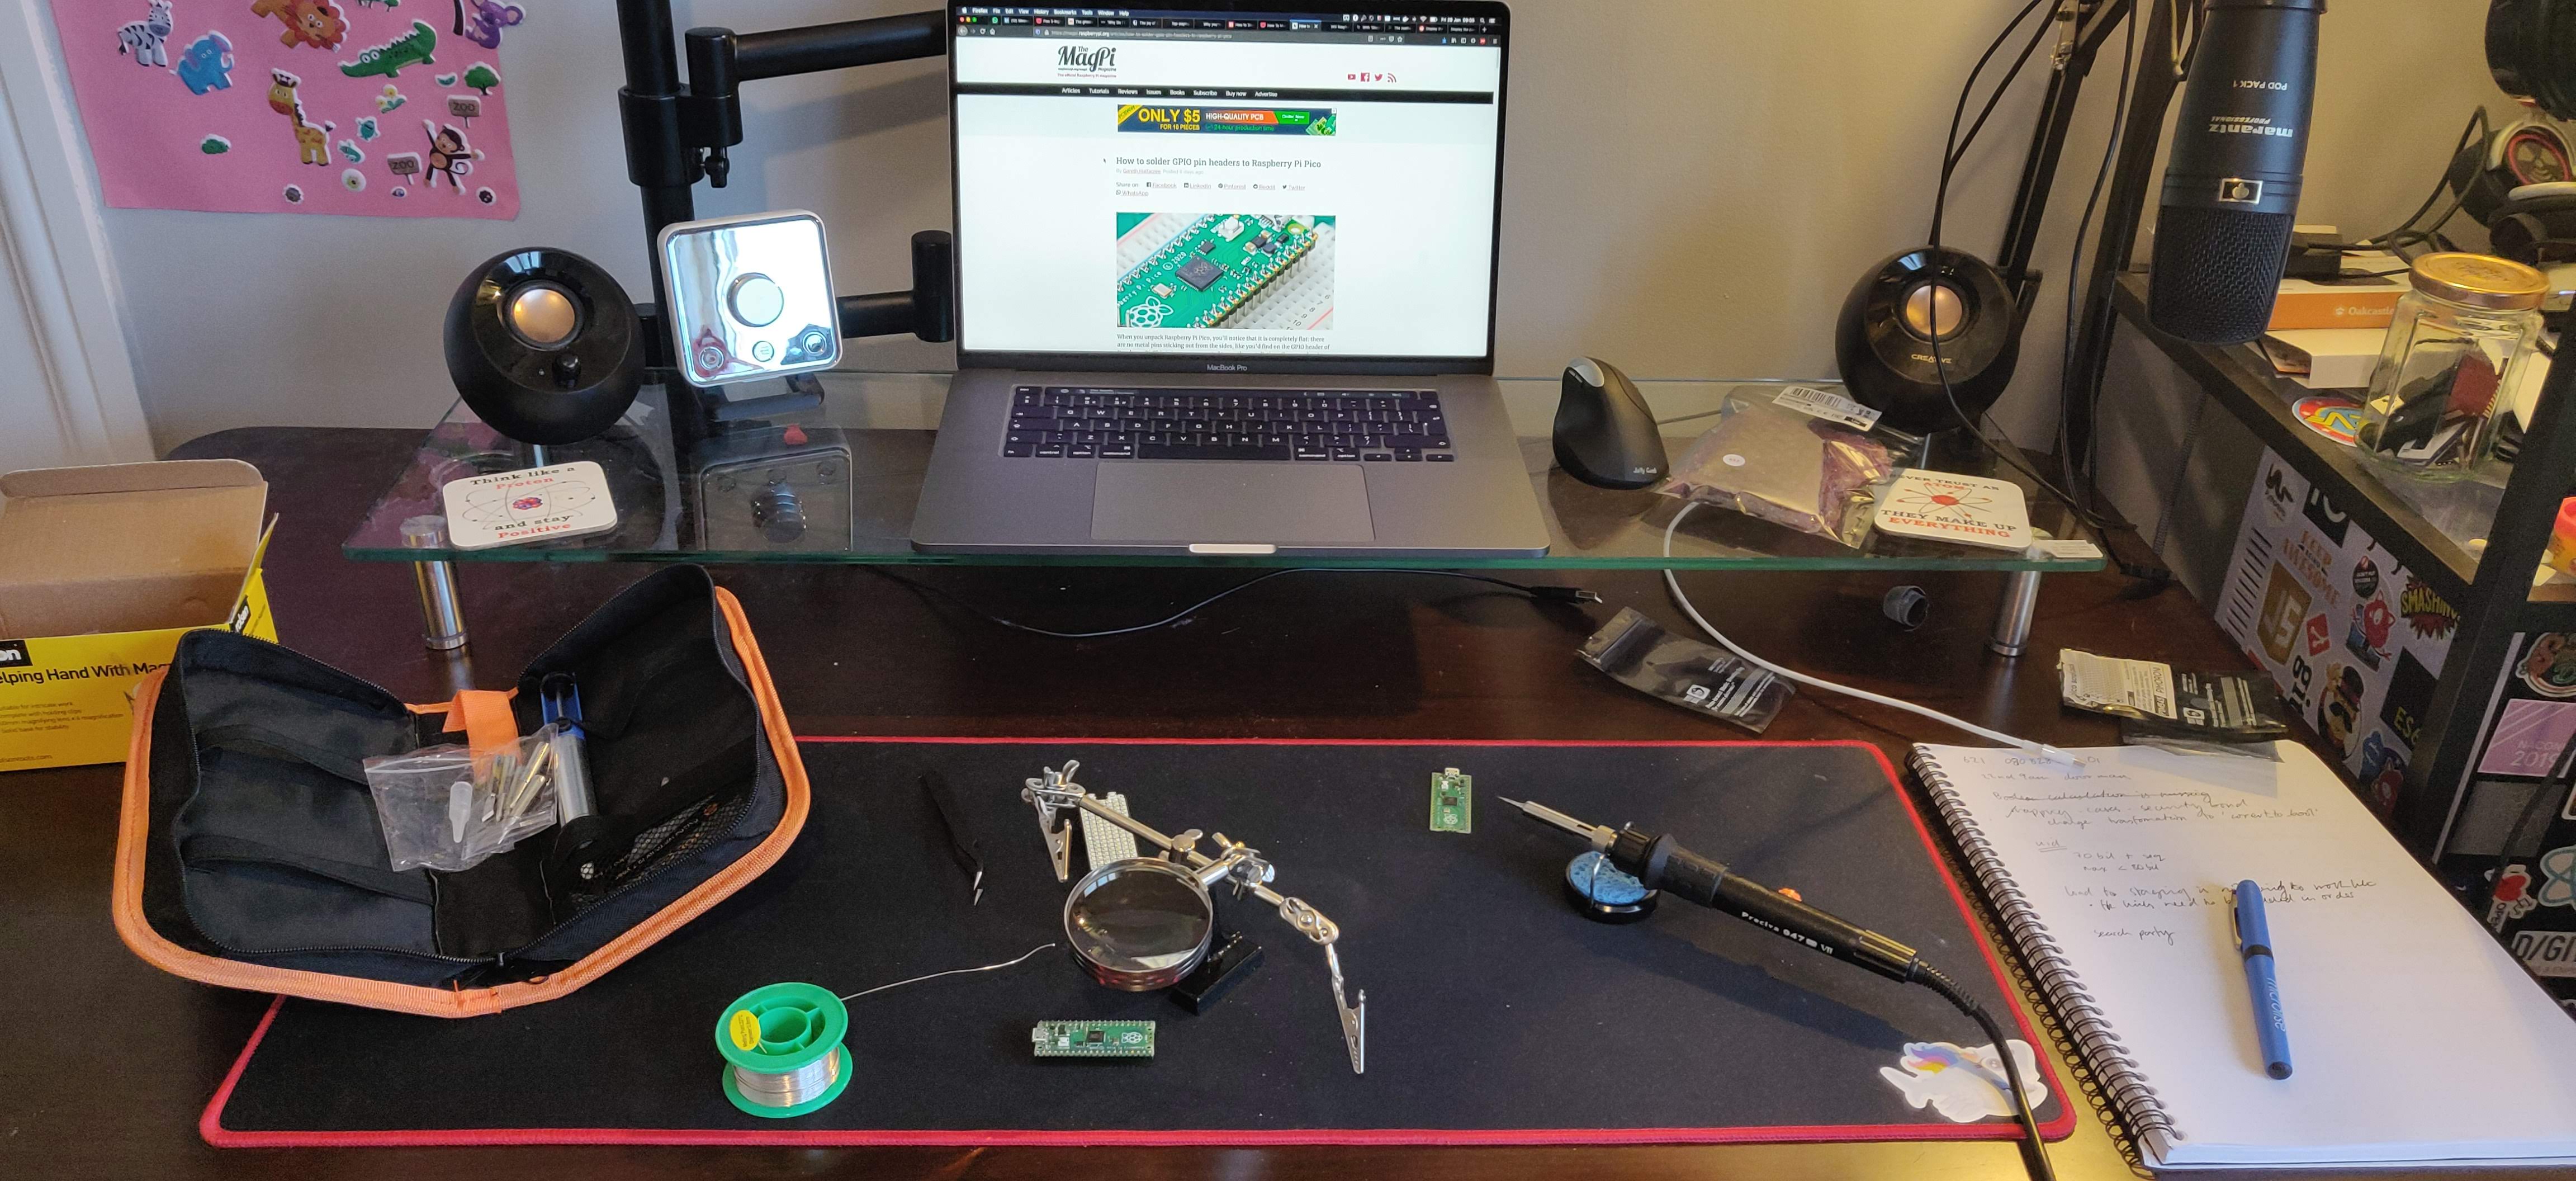
Having never soldered a board like this before - well it's been so long it's effectively never - I followed the very handy MagPi Guide. I do disagree with part of their set up though, and would NOT recommend using blu-tak to hold the bits in place. It got hot and was hard to remove from the pins, also it's not very stable. I had to undo the first side because it was wonky (thankfully I noticed after only doing 2 pins so not too bad). I've ordered a breadboard ready for the next one, hopefully that will keep everything more in line.
I also discovered that the helping hand thing I bought was rubbish, so I will be returning that. For this specific job the clamps were not required, however given my terrible eyesight, I ended up using the magnifying glass and no glasses, so I think a bigger one would be better.
Soldered:
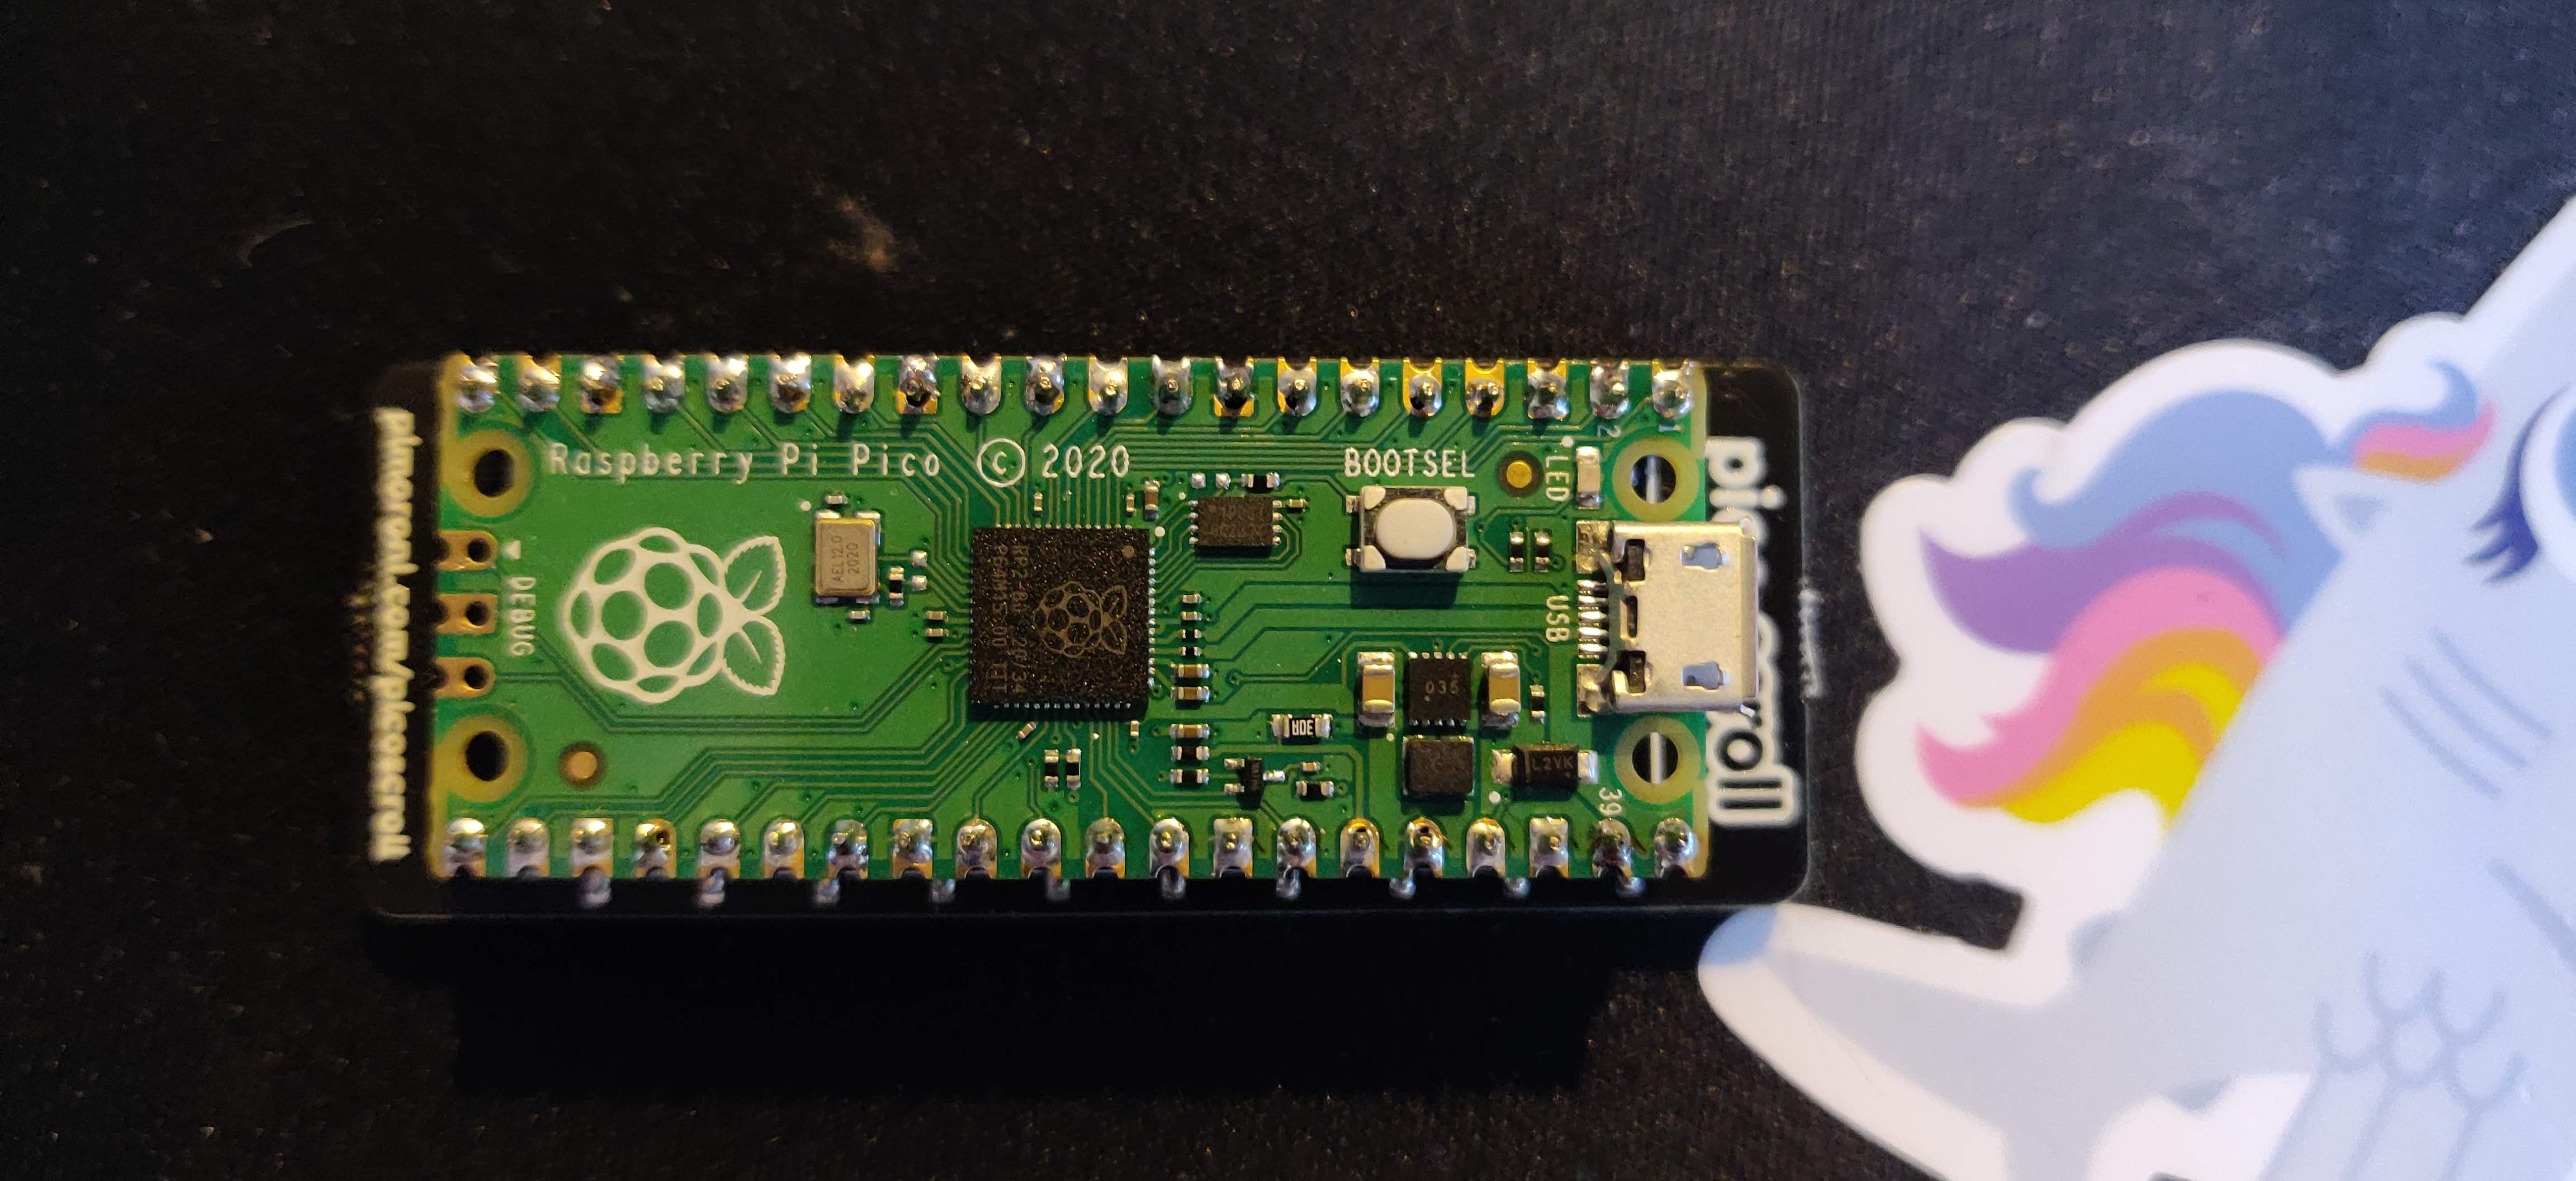
If you were to zoom in you'd see that some of the solders look a bit crap, but they are strong enough to make it work so whatever. I only had a couple of accidents, and all were fixable so it's all good here.
Flashing!
This is nothing much to be proud of, just pure instruction-following from here to set up the SDK, build the example and flash it to the pico. I only had one problem, and it's so noob it's embarrassing to mention but in the spirit of potentially helping another noob, here's what I did wrong...
There's a line in those instructions that tells you to set an environment variable to the path of the SDK folder. If someone were to maybe not thoroughly read the instructions and just copy and paste it as is, then when that person got to the make step, they would get the error:
Directory '/path/to/pico-sdk' not found
The solution is to set the env var correctly AND (and this is the part that flummoxed me for longer than I'd care to admit) remove the CMakeCache.txt file from the build folder, because you can change the env var all you like but make will still pick up the settings from this cached version.
Next Steps
I spend all day writing Python, so using Micropython for this seems like it wouldn't be much of a challenge, so the next thing I am going to do is set up a dev environment so I can start fiddling with this thing in C. I've never written any C before so that will be fun.
I don't know what I'm going to make it do yet, how arty can you get with a 7x17 grid...??